How Do You Cover Up Old Linoleum?
Ahh, linoleum. It’s that retro flooring option we all remember having at some point in our lives. Whether it was your parents doing the kitchen up on the cheap or the apartment in a great location, so you tried to overlook the cheap decor, linoleum brings back many memories.
It’s not all bad, though, because modern linoleum comes in a range of styles that perfectly fit into an everyday household. But this post is all about covering up old lino flooring, so let’s dive in so you can finally get rid of it.
Why Is Linoleum So Common?
Linoleum flooring is a cost-effective solution, so it’s common to see it in rented homes and offices. Not only is it straightforward to install, but the surface is simple to wipe, which means homes with kids and pets use it because lino saves them from having to replace the flooring.
Today, linoleum is still popular, but as times have changed – so have the designs. The flooring of the 1980s was all about complex patterns that may have been stylish at the time – but not now.
Then we have the 90s lino flooring, which was more muted in design than its 80s predecessor, but it doesn’t exactly scream sleek and elegant.
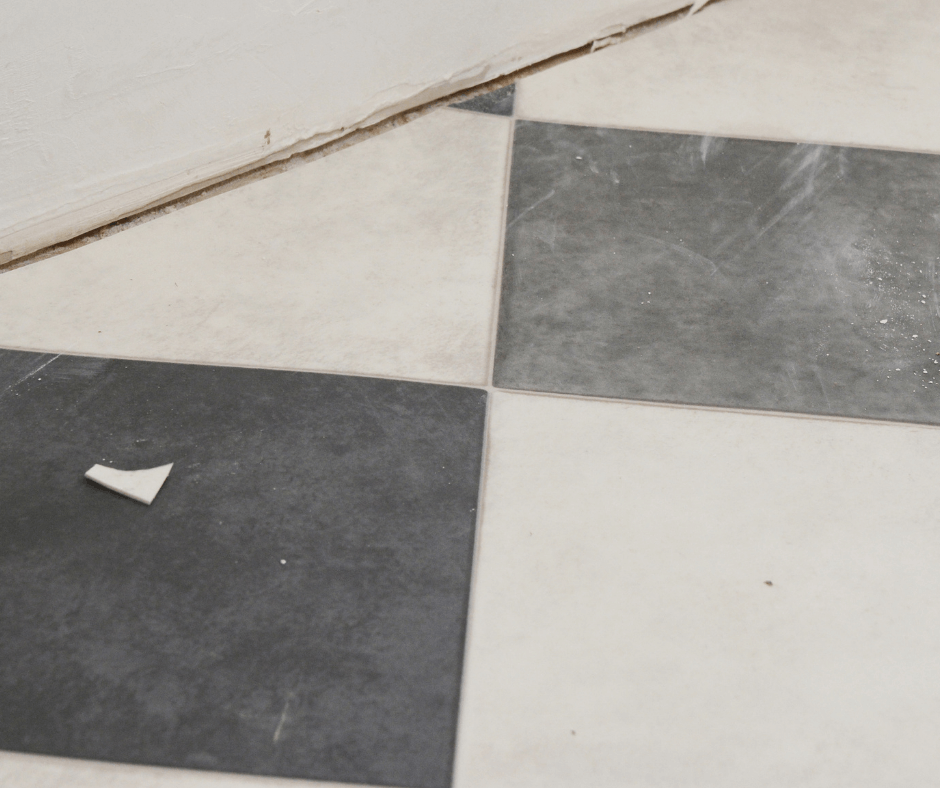
If you’ve recently purchased a property or noticed that your kitchen and bathroom need a significant overhaul, it can be challenging to cover linoleum – but it is possible.
Here are some tried and tested techniques to bring your flooring into the modern era.
Peel and Stick Tiles
Peel and stick tiles are a cost-effective flooring solution for any household, and you can find them at any DIY store, including B&Q and Homebase. If you want to cover old lino quickly, you’ll be able to choose from a range of designs, including patterned tiles, wood effect tiles, and plain tiles.
If you plan to use these tiles, you should make sure your flooring is free of cracks and debris. You’ll need a clean surface to create a uniform look, so in some cases, you might need to smooth down the lino tile to make sure it’s flat enough to stick your new tiles over the top.
After cleaning the lino surface, you should double-check for any stick areas or stains. The adhesive will only work when it’s applied to a clean surface, so while it might seem like a lot of preparation work, it will save you time when you stick down the new tiles.
Before sticking each tile down, you should lay them over the top of your lino flooring to ensure they’ll fit and each looks the same – especially if you’re using a pattern.
We always recommend you start from the centre and work your way out. That way, you can check each tile sticks properly without walking over the flooring before it has time to set.
If you need to cut the tiles to fit around corners or appliances, it’s best to use a utility knife for a smooth finish.
Paint Over The Linoleum
Yes, you can paint over linoleum, but it can take a lot of time and effort. If you’re looking for a quick, no-frills solution, painting your flooring probably isn’t right for you because there’s a lot of prep work involved, and it’s tough to achieve a uniform finish.
Here’s how to do it.
Sand the Lino: First things first, you should hire an orbital sander and make sure you cover every inch of the flooring. Not only will this create the right surface for painting, but it also ensures you can sand down cracks or unlevel areas.
Remove any Debris: Once you finish sanding your lino flooring, you should use a mop to get rid of the debris, then run a cloth dipped in water over the tiles to remove the lino gloss. It makes it difficult for the paint to stick, and if you can find a specific de-glossing product, we thoroughly recommend you use it.
Tape and Paint: You should always place tape around the edges of your flooring to protect the wall areas and choose an enamel paint. If you’re not sure which paint will be best for the flooring, you can ask for advice at the DIY shop.
Perfect: Once you complete one coat, you should leave the paint to dry and then apply a second coat. You can then add sealant to ensure the colour sticks, and you’ll have a shiny new floor!
Apply Temporary Flooring
Well, if the two previous solutions have one thing in common, it’s that they require a lot of work. So, how do people with limited time and DIY skills cover their linoleum flooring?
Temporary flooring is one of the most valuable inventions known to man, and it’s provided many a household and business with effective yet cheap solutions.
It works by going directly over your existing flooring so that you can redecorate your property without extensive DIY work. With many designs to choose between, temporary flooring could be the solution you’re looking for.
Better still, you can use temporary flooring that suits your style preferences. The choices include carpet, laminate and tiles, and all of which are easy to install.
In some cases, you might be able to weigh the flooring down with furniture, while some come with adhesive tape. Some tiles lock together, so you won’t need to hire anyone to install them, which saves you a lot of time and money.
If you’d like to keep things fresh, you can rent temporary flooring solutions, so you can switch between carpet, tiles and laminate whenever you feel like it.
Final Thoughts
You don’t have to live with old linoleum flooring, and hopefully, this post gives you some ideas on how to cover it for good. At Conex Temporary Walling Solutions, we provide a range of rental products, including exhibition stands, room dividers, gallery walls and temporary flooring.
With fully customizable options, we’re confident we can supply you with everything you need. Please feel free to get in touch if you’d like to discuss our flooring products and installation options.