How to Build a Temporary Wall
Space isn’t a guaranteed luxury for many of us. When it comes to our homes and offices, few people would say they’re delighted with the amount of space they have. But temporary walls are an innovative and cost-effective solution to divide rooms and make trade show exhibitions stand out.
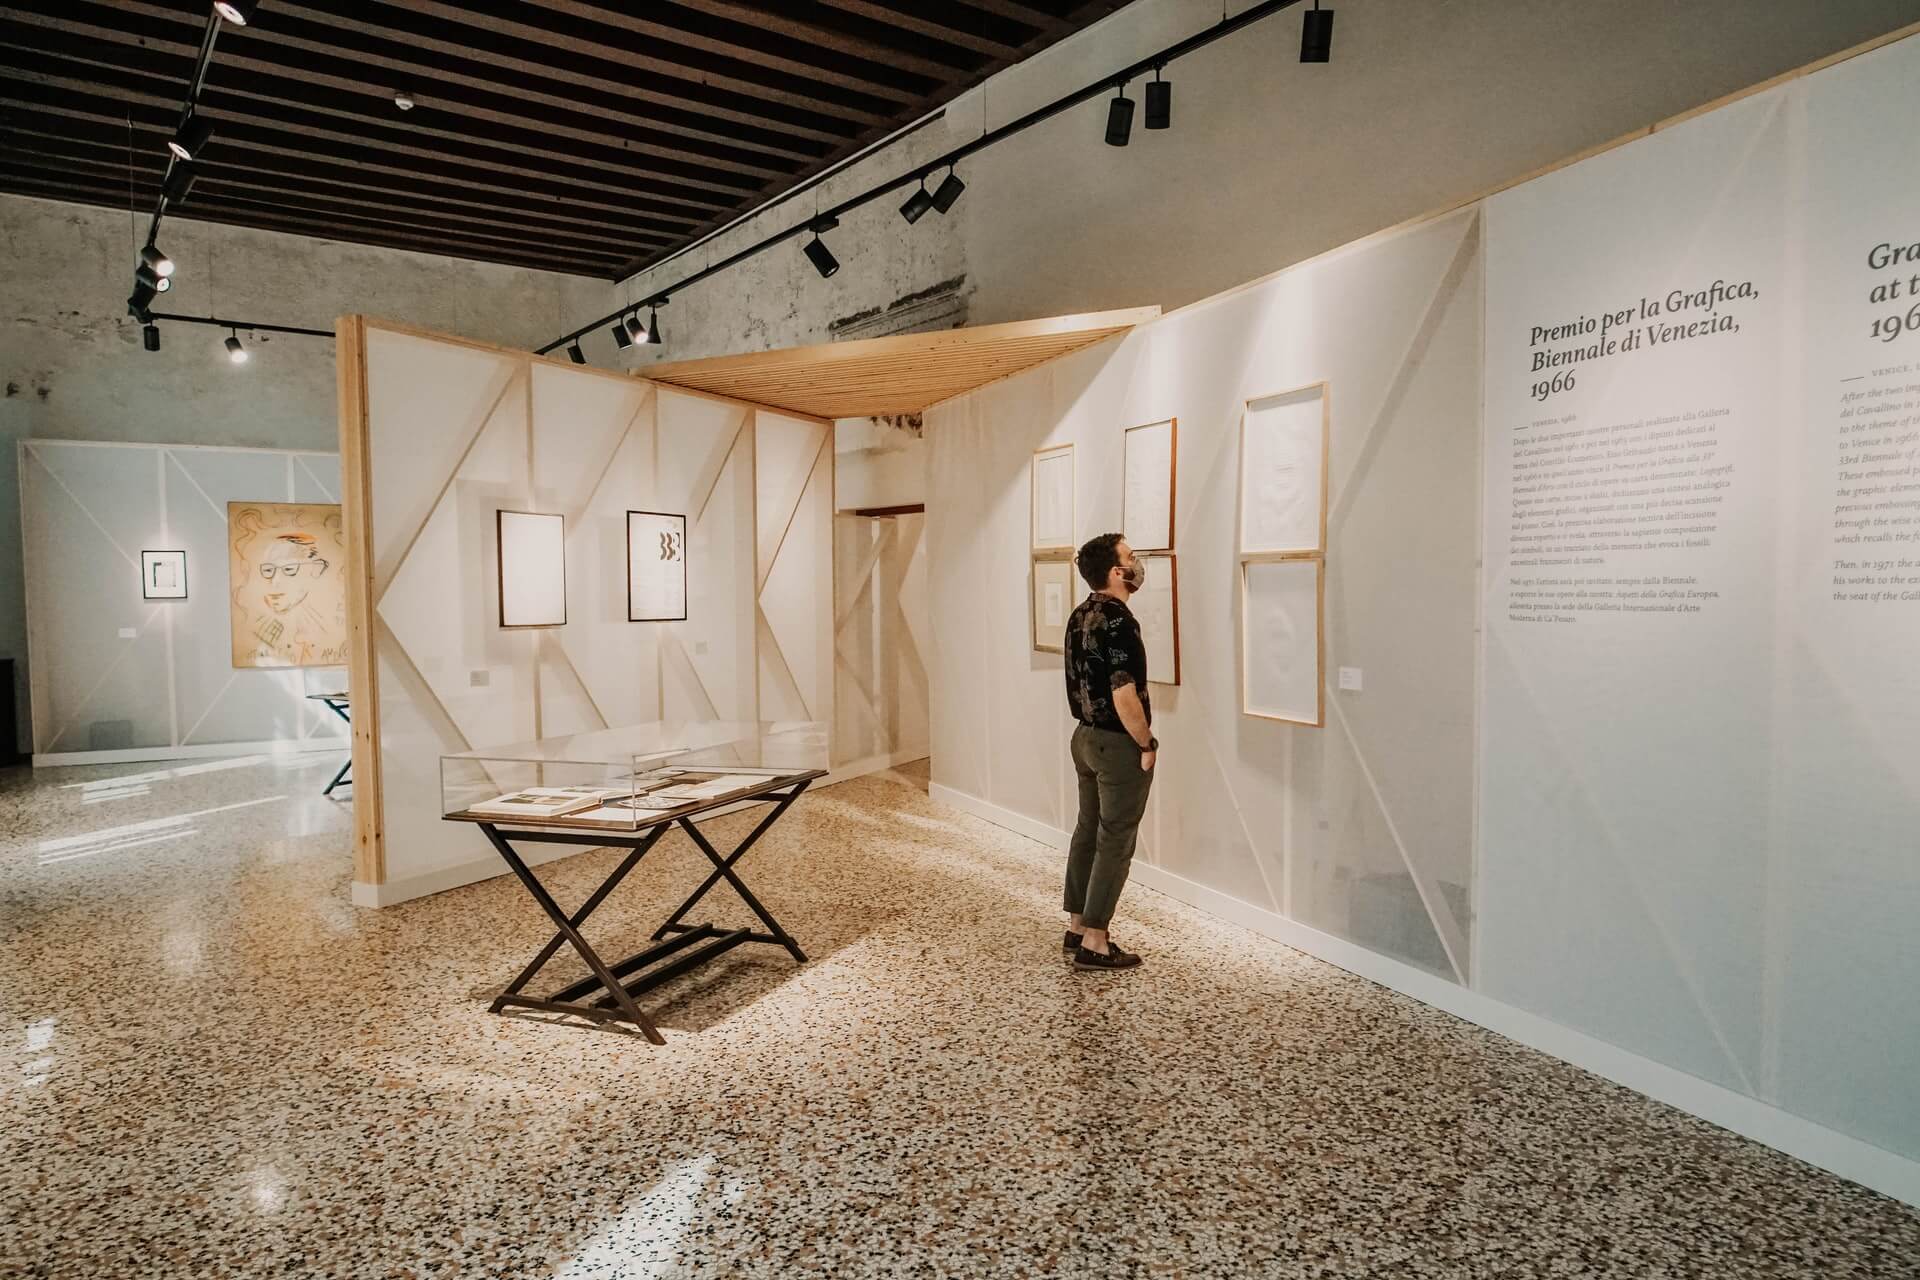
Temporary walls are ideal for splitting up a room in your home or office to offer more space. They’re also a popular addition to trade show exhibitions, as they make a display look more professional.
Whether you want to divide a room or make a strong impression at a trade show, this guide will tell you how to build a temporary wall.
The DIY Approach
If you’re feeling ambitious and have extensive DIY knowledge, you can build a temporary wall. Remember that this temporary wall will be a part of your exhibition, in your home or office – so you must know what you’re doing.
Here’s how to build a temporary wall from scratch.
Step One: Get Your Tools Together
To build your temporary wall, you’ll need specialist tools, including:
- A hammer
- Sill seal
- 2 X 4 Lumber
- Drill
- Circular Saw
- Drywall
- Nails
If you don’t have these tools, you can find them in shops such as B&Q or purchase them online. It’s also worth looking at whether you can rent the tools if you’ll only use them once.
Step Two: Protect Your Floor
One of the biggest worries people have with building a temporary wall is damaging the floor. Luckily, there’s a simple way around this, and when you do it correctly, you can avoid any damage. Sill seal is a foam material that you can place on your floor to form your temporary wall base.
It has a thickness of around ¼ inch and will protect your floor as well as providing extra stability for your wall.
Step Three: Cut Your Wood
Ideally, it would help if you used a circular saw in this step for added accuracy. Jigsaws are OK, but take your time to make sure the measurements are correct. Before you start, check the blade to ensure it’s sharp enough.
You’ll need to cut two 2×4 pieces of wood, which will form the top and bottom wall margins. For many people, circular saws are difficult to use, so we recommend you practice on a spare piece of wood before you make the final cut.
Step Four: Measure
Next, you’ll need to measure the height of your room. If your room is even throughout, you can measure from any location – but if it’s slightly uneven, you should take measurements from both sides of the room.
Once you work out your final measurement, you need to subtract three inches of the total height and cut two more 2×4 pieces of wood.
Step Five: Place Studs in the Wall
Vertical studs are essential to stabilise your temporary wall. In most cases, they’ll be a perfect fit – but you can cut them to size if you need to. Place the studs on the sill seal and trim them if needed.
The next step is to place the wall onto the studs with nails or screws. It’s entirely up to you which you use, but screws are easier to remove if you want to take the wall apart or move it to another room at a later date.
Step Six: Add Panels
Now the frame of your temporary wall is complete; it’s time to add drywall panels. It’s a cost-effective option, and the panels will last a long time. Adding the drywall panels will also shield you from some noise, but it’s important to remember – they’re not going to block out all of the noise.
Last Step: Paint & Admire
Paint your temporary wall if you want, and then you can stand back and admire your hard work!
The No DIY Solution
So, now you know everything that goes into building a temporary wall, you’re probably wondering if it’s worth the time. If you’re not a fan of DIY, then the idea of building your own wall probably won’t fill you with joy.
There are also many factors to consider if you want to take the DIY approach, including:
The Cost
If you don’t have the tools, then you’ll need to purchase them. If you’re planning on using them once, then it can be an unnecessary cost.
Time Constraints
Building a temporary wall can be a big job, and a lot of people underestimate it. If you’re short on time and want to split your room in a couple of hours, then you should probably explore other options.
What’s the Wall for?
Another important consideration is how long you’re planning to use the wall. If it’s just to create a trade show exhibition, you should consider if it’s worth the work involved?
Hire Temporary Walling
If you decide the DIY route isn’t for you, then the best way to sort out your walling needs is to hire temporary products. The major benefit of this solution is you can find the right size, colour and integrations you require without having to do any of the hard work.
Most temporary walling products are customisable, so you can tailor them to your company branding and exhibition design. You can also add plasma screens and lighting features to make your promotional material stand out.
When it comes to exhibition display stands for hire, there are so many options – and you don’t have to lift a finger.
Use Room Dividers
Perhaps the cheapest option is to use a room divider. The freestanding material is convenient to use, but it offers no sound protection. Room dividers also give the appearance of splitting a room, but they’re easily knocked over, and you should only use them if you’re on a strict budget.
The Takeaway
Dividing a room gives you more space, and if you’re using temporary walls for a trade show – they’ll help create a better display. Think about your abilities and consider whether it’s worth all the DIY effort.
Ultimately, hiring temporary wall solutions gives you more time and freedom. They can also save you money if you don’t have the necessary tools.