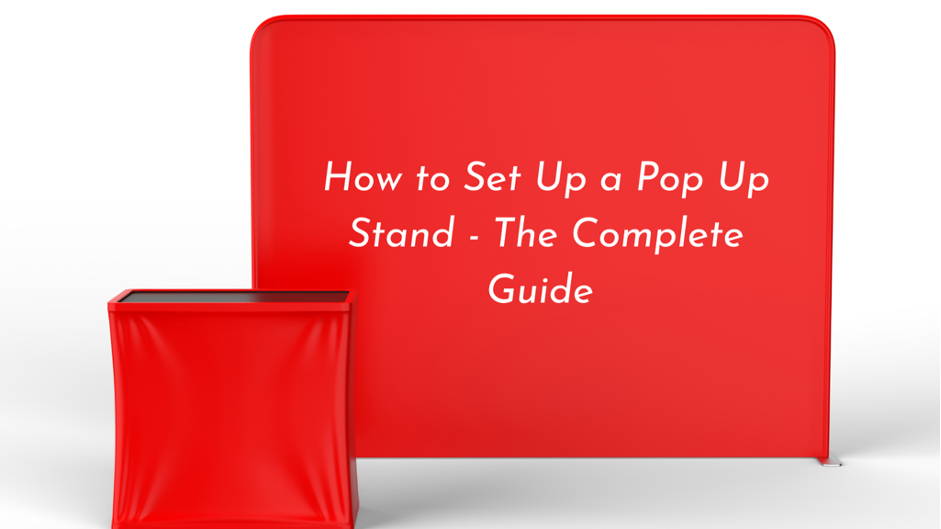
How to Set Up a Pop Up Stand – The Complete Guide
Every business needs to make an impression on its target audience and showcase its products or services. While technology has given us so many things, it also means that consumers are more informed and expect more from businesses.
It’s no longer enough to sell some products or tell people they should use your service. Today, you need to establish yourself as a forward-thinking, consumer-orientated company – which involves strategic marketing.
One of the most valuable marketing solutions for any business is attending trade shows and exhibitions. Not only does it put you in front of your target audience, but it can also speed up the customer journey and secure you some valuable business.
So, with all that in mind, you need to know how to set up a pop-up stand. In this complete guide, we’ll reveal how to set up your pop up stand quickly, so you can get to selling.
Step One: Pull Out the Cortina Stand
Pop-Up stands come with a cortina frame, which holds everything together. Take the frame out of the bag and slowly stretch it out to its full size. Once it’s extended, you can place it on the floor, with the coloured hooks at the top of the structure.
You should be able to hear a clicking noise when the frame is fully extended, so if you don’t hear that noise, you might need more room to stretch the frame. It’s only secure when it reaches the right size, and the coloured hooks are on top of the frame.
Step Two: Securing the Magnetic Strips
The magnetic strips are essential for securing your frame and adding any artwork. They come with the cortina frame, but you’ll need to install them after the structure is extended and on the floor.
Snap the magnetic strips onto the frame, making sure you get both the front and back corners. Your graphics need to be stable, and this can only happen if the magnetic attachments are correctly applied.
The last thing you want is your graphics to fall off during the event! Most pop-up frames come with instructions, so you shouldn’t have any problems.
Step Three: Adding the Graphics
When you add the graphics, it’s essential to be careful. But if your frame is secure with the magnetic strips, you shouldn’t have any problems. It’s best to start at the top of your cortina frame and gently attach it from the left side first.
Smooth your graphics down as you secure them and make sure everything is in place. The graphics should be designed to fit your frame perfectly, but you might need to smooth the material as you apply it.
Step Four: Positioning Your Lighting
Pop-Up stands come in all shapes and sizes, and the light installations are essential to make your exhibition stand out. How you position your lighting is entirely up to you and the theme of your stand.
For example, if you’re advertising a new line of products, you might want the light to emphasise those products, or you can use spotlights to highlight your branding.
Step Five: Apply the Finishing Touches
Once your main stand is up and you have the lighting in place, you can use the space around you to add other elements. Some people have a central stand, gallery walling to the side, or a plasma screen to show videos.
There’s so much you can do with an exhibition stand, so if there was ever a time to get creative, it’s now!
Things to Consider
There’s no doubt that pop-up displays are an effective way to showcase your business and make sure you stand out from your competitors. You also get to be in a room full of people who are interested in your services.
Nobody attends a trade show unless they’re interested in the industry, so setting up a pop-up stand is essentially skipping the step of finding qualified leads because they’re already in the room. You just need to turn them into clients.
There are some essential things to consider, so let’s take a look at them.
Should I Buy Or Rent Pop-Up Stands?
While some people prefer to buy pop-up stands, renting them gives you more flexibility. We supply a range of exhibition equipment, including gallery walls, iPad stands, pop-up displays and temporary walling solutions.
All of our products are fully customisable, and you can have complete control over sizes, finishes, and even choose colours that match your branding. Renting saves you from finding a place to store your exhibition equipment and can be a cheaper solution.
Will I Need Professionals?
No. Pop-Up stands are easy to install, so you won’t need a professional team to help you. All you’ll need to do is open the frame and attach your graphics, and most people find they have no problems installing any of our temporary solutions.
What Can I Combine With My Stand?
You can do so many things with your exhibition stand, which is perfect if you want to make a lasting impression on your audience. While some people prefer to keep it simple and use the pop-up stand to display their branding, others might incorporate plasma screens, temporary walling, and iPad stands.
The most important thing with any trade show is to make the right impression, and depending on your brand, this could be a simple but informative display, or a creative start-up can go all out to do something special.
Ultimately, it’s up to you, so feel free to take inspiration from other companies in your industry, and you’ll be able to design a stand that outperforms your competitors.
The Bottom Line
Putting together an exhibition stand is an easy task, and anyone can do it. It’s why they’re such popular solutions for businesses that want to make an impact and showcase their brand.
With a range of cost-effective temporary walling solutions, you can benefit from fully customisable pop-up stands without having to worry about finding a permanent place to store them.
If you’d like to discuss your options, please feel free to contact our friendly customer service team.